Server Setup
Before installing the Juris Server application, the following must be true:
- A valid version of SQL is installed. Please refer to the System Requirements page for a list of supported SQL versions.
- All users must exit Juris
- Juris should be placed in Maintenance Mode before beginning this portion of the installation.
- Backup the Juris database before continuing with the installation.
- Browse to and execute the Juris Server X.XX.exe file. X.XX represents the version number of the file. See Figure 1.0
 Figure 1.0
 - Click the Next button on the Welcome window. See Figure 2.0
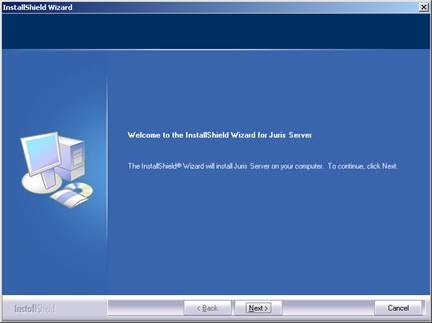 Figure 2.0
 - The path window that appears will allow you to determine the location
where the application files will be installed. This will default
to C:\Program Files\Juris but may be changed by clicking the Browse button.
Once the
path has been selected click the Next button to continue. See Figure 3.0
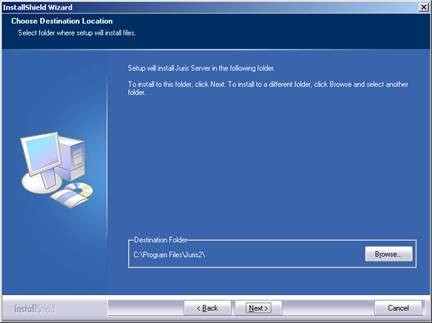 Figure 3.0
 - Upon completion of the installation, the License window will prompt you to enter your key. Enter the appropriate information. See Figure 4.0
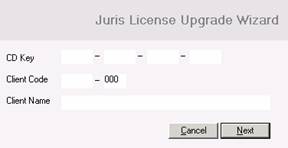 Figure 4.0
 - Click the Next button.
Note: If this is a new installation of Juris, the next screen will prompt for a path to save the license file. The folder containing the license must be shared and visible to all client PCs.
- Click the Exit button. See Figure 5.0
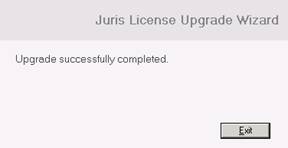 Figure 5.0
 - If upgrading from a previous version of Juris, the Server installer will automatically update your database. If this is a new installation, the Server installer will prompt for a SQL server instance, then construct a new database.. See Figure 6.0
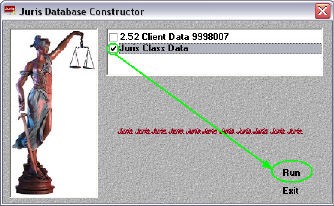 Figure 6.0
 - Click the Finish button when the installation has completed. See Figure 7.0
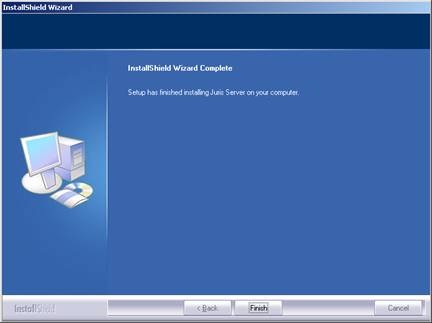 Figure 7.0
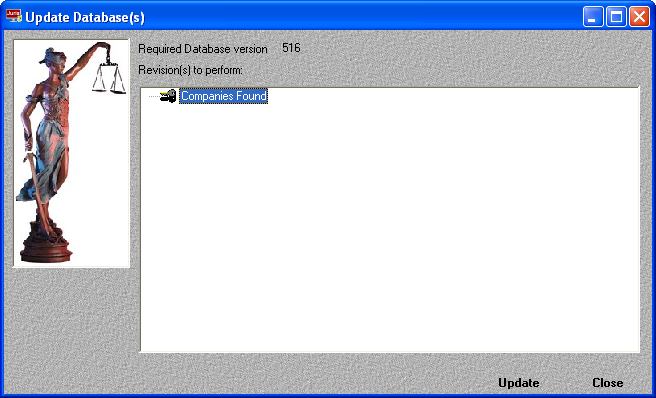
 - If you installed a new database, you must run the Database Revision Update utility before proceeding. On the Windows Start menu, point to Programs, then point to Juris, then point to Administrative Tools, and then click Database Revision Update.
- Click the Update button. You are prompted to make a backup copy of the database. It is strongly recommended that you make the backup.
- When the update is complete, click Close.
The Update Database window opens and detects the database version you have installed. See Figure 8.0