Quick Checks Quick Lesson
Note: A Bank Account is required.
- Open Juris>Transactions>Quick Checks. See Figure 1.0
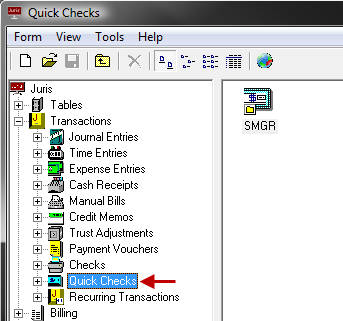 Figure 1.0
 - Create a new Quick Check batch using any of the options below:
- Click the New icon.
- Select Form > New > Quick Check from the toolbar.
- Press CTRL + N.
- Select the bank from which checks are to be drawn using any of the following options:
- Type in the Bank Code of the appropriate bank.
- Click the ellipses button to select the Bank Account from the list of available accounts.
- Click the down arrow button on the keyboard while in the Bank Account field to select the Bank Account from the list of available accounts.
- Enter a Vendor. The
Vendor Lookup can be used to
select a Vendor or Temporary Vendor. See Figure 2.0
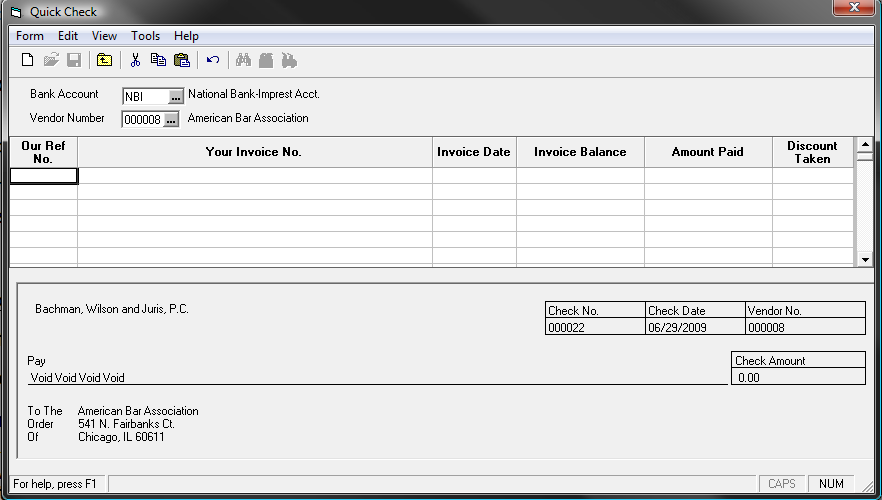 Figure 2.0
 - Enter the payment in any of the following ways.
- Select Tools > Select Voucher to select an existing voucher form payment.
- Select New to add a new row to Quick Checks and enter a payment for which a voucher does not exist.
Note: When adding a New voucher, double-clicking on the Your Invoice Number field will open the detailed voucher screen, which allows the user to allocate G/L Distributions and Expense Distributions, if desired.
- When finished, select to save using any of the following options:
- Click the Save icon.
- Select Form > Save from the toolbar.
- keystroke command CTRL + S.
- The system will issue a prompt for printing the check. Verify the Starting Check Number, Check Date and Printer. Place Check Stock into the printer and click OK to print a check. If the check is not to be printed (the check was handwritten) click the Manual Check option and no check will be printed.
The Quick Check is complete. Posting is not necessary.