Create a new Expense Code Xref
To create a new Expense Code Xref:
-
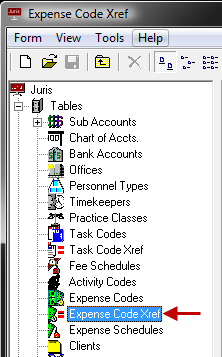
Select Tables > Expense Code Xref.
-
Click the New icon on the toolbar, to open a new Expense Code Xref schedule form. Note that you can also select Form > New from the menu, or press Ctrl + N on your keyboard.

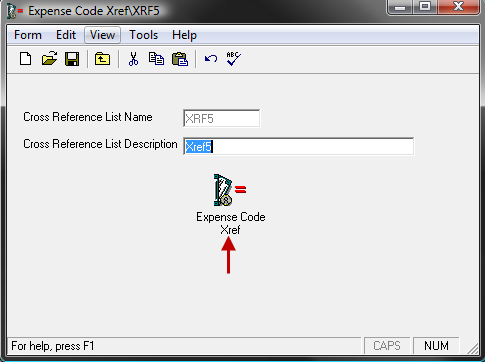
- In the Cross Reference List Name text box, type a 1-4 character name.
- In the Cross Reference List Description text box, type a 1 - 30 character description.
-
Click the Spell Check icon on the toolbar to initiate the spell checker. Note that you can also select Form > Spelling from the menu, or press F7 on your keyboard.
-
Click the Save icon on the toolbar to save the new cross reference. Note that you can also select Form > Save from the menu, or press Ctrl + S on your keyboard.
Once saved the Expense Code Xref schedule icon appears.
-
Click the Expense Code Xref icon to open the Expense Xref Schedule.
-
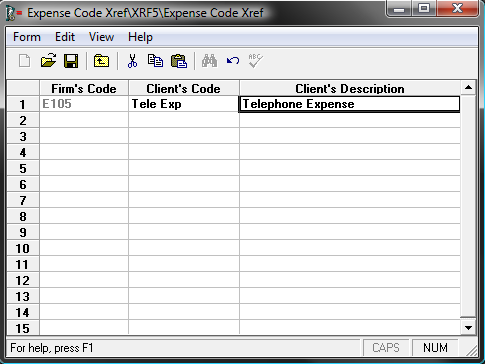
In the Firm's Code column, type in the expense code as used by the firm.
The code may also be looked up by clicking the lookup icon to display a list of all Expense Codes in the Standard Expense Schedule.
-
Type in the appropriate Client's Code and Client's Description.
The Client's Code may be 1-8 characters in length, and the Client's Description may be 1-99 characters in length. The Client's Code and Client's description are the expense codes that the client requires for their bills.
- Click the Save icon in the toolbar. Note that you can also select Form > Save from the menu, or press Ctrl + S on your keyboard.