Check Design advanced topics
Check Properties
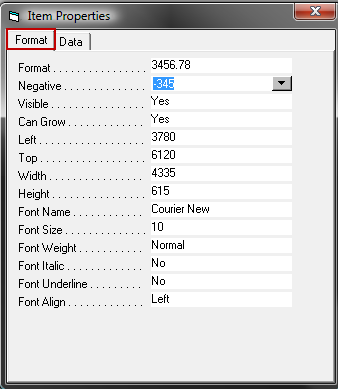
Format tab

- Select Check location: Top, Middle or Bottom. (places MICR Reserved area in top, middle or bottom of check layout)
- Enter location of first perforation.
- Enter location of second perforation.
- Enter X-Grid size (can be used to customize the grid - which is a tool for aligning fields in the layout).
- Enter Y-Grid size (can be used to customize the grid - which is a tool for aligning fields in the layout).
- Snap To Grid. Select ‘yes’ to align text and data field boxes in predefined increments (i.e., X/Y Grid size).
- Enter or select default Font.
- Enter or select default Font size.
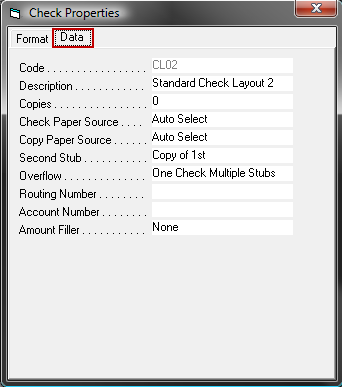
Data tab

- Enter Check Code.
- Enter Check Description.
- Enter Number of Copies.
- Enter or select Check Paper Source.
- Enter or select Copy Paper Source.
- Select contents for second stub: Leave Blank or Copy of first stub.
- Select how to handle Overflow (i.e., More Vendor vouchers than will print on a single check). Select to print Multiple Checks or One Check with Multiple Stubs.
- Enter Check Routing Number. Used for MICR line.
- Enter Check Account Number. Used for MICR line.
- Select Amount Filler (None, Asterisks, Dollars or Pesos).
MICR Line Information
Note
Should only be printed if correct font, ink and hardware for printing MICR information is available.
- Print Routing Number. Select ‘yes’ to print Routing Number entered on Data tab in MICR line of check. Select ‘no’ to suppress printing.
- Print Account Number. Select ‘yes’ to print Account Number entered on Data tab in MICR line of check. Select ‘no’ to suppress printing.
- Print Check Number. Select ‘yes’ to print Check Number in MICR line of check. Select ‘no’ to suppress printing.
- Print Check Amount. Select ‘yes’ to print Check Amount in MICR line of check. Select ‘no’ to suppress printing.
Note
The default position of the MICR area is at the highest possible point on the MICR line.
- Horizontal skew. Enter a number from 0 – 999 to indicate the amount of skew required to align the MICR line horizontally. While the skewing effect of a number will vary from printer to printer, typically number 180=1/8 inch, 360=1/4 inch, etc.
- Vertical skew. Enter a number from 0 – 999 to indicate the amount of skew required to align the MICR line vertically. While the skewing effect of a number will vary from printer to printer, typically number 180=1/8 inch, 360=1/4 inch, etc.