Create a journal entry
To create a Journal Entry, perform the following:
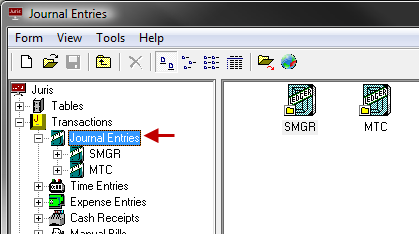
- Select Transactions > Journal Entries.
-
Open a new Journal Entry batch by using any of the following options:
- Click the New icon on the toolbar.
- Select Form > New from the menu.
- Use the keystroke shortcut Ctrl + N.
-
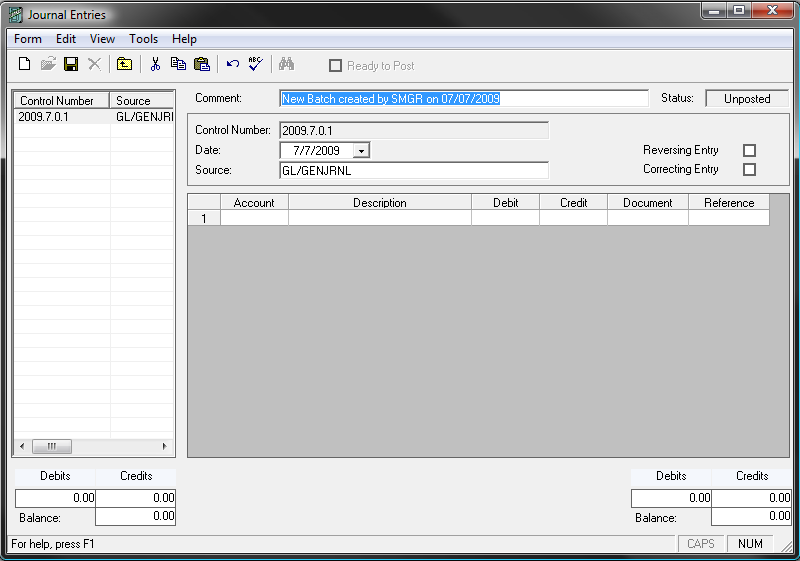
Type a Batch Comment (1-50 alphanumeric characters), or accept the default comment.
Note
The Control number is created by the system and may not be changed. There is one control number for each journal item created. Each control number is associated with a set of debits and credits, whose total must be equal to zero.
Example: The control number consists of the following: [accounting year].[accounting period number].[batch number].[item number]
- Accept the date or enter another date for the batch.
-
Type a Source (may be up to 15 alphanumeric characters).
Note
The source is used to describe the area where the batch was originated from. Batches created through Juris use the source to define where the entries were generated (i.e. Edit Prebills). Manual batches should also be given a source that is descriptive.
The "Reversing Entry" and "Correcting Entry" boxes may be checked, if desired.
If the "Reversing Entry" option is selected, a Journal Entry with the Starting Date of the Next Accounting Period will be generated. This field will be disabled if the Date of the Journal Entry is outside the Current Accounting Period.
The "Correcting Entry" option is used if the Journal Entry corrects some previously entered entry that was incorrect. This information is used in Cash Flow Statement reporting, and simply flags that entry as a correction.
-
The first blank Journal Entry automatically appears when the Journal Entry batch is created. Enter the Journal Entry as follows:
- Enter an account number or select an account from the lookup by double-clicking in the Account field.
- The Description field automatically populates with the account description when the account is selected.
- Enter the amount in either the debit or credit column, as appropriate.
- Enter a Document number (may be up to 60 alphanumeric characters)
- Enter the Reference description (may be up to 60 alphanumeric characters)
-
Repeat this process for every Debit and Credit needed for the Journal Item.
Tip
Each Journal item allows multiple rows, or multiple debits and credits to be entered, but the Debits must equal the Credits. Juris allows an unfinished item or items to be saved, to be completed at a later date, but Juris does not allow the batch to be posted until the balance of the batch is equal to zero (Total Debits = total Credits).
-
To add another item to the batch, click the New icon or select Form > New from the menu.
This creates blank rows for journal items associated with a new Control Number. Repeat steps 4 - 7 to complete the Journal item.
The transactions stay in an editable state until posted. Once each the Debits and Credits of each item as well as the Total Debits and Credits must be equal before the batch may be set to a status of Ready to Post. Once marked 'Ready to Post', a user with rights to post must post that batch to finalize the transactions.
Note
The transactions are not finalized until posted.
Note
Journal entries that effect the cash account(s) will cause transactions to be entered into the checkbook. This is to record actions to the cash account and will enable you to reconcile the balance of the cash account to the balance in bank reconciliation.