ADP Interface
The ADP Interface to Juris utility converts payroll information from your ADP system into a data format that can be imported to Juris.
Before beginning the process, determine the following:
- Where (on the hard drive) the GL Interface file output from ADP is located.
- Where (on the hard drive) the ADP information is to be located once it is converted into the format Juris will use.
- The ADP account numbers and corresponding Juris account numbers.
Installation
- If the utility was downloaded from the Internet, use Windows® Explorer to locate the program on your hard drive. Double click the file called setup.exe. to begin installation. If using the CD to install the utility, insert the “Juris ADP” CD in the CD drive. From the Windows Start button, click Run. Click the Browse button. Locate the CD drive. Open the folder called Disk1. Select setup.exe and click OK. Then click the Run button.
- When the installation begins, simply answer the prompts. For the installation type, select the radio button called Typical.
Setup
-
From the Windows® Start button, select Programs, then Juris Apps, then Juris ADP Interface. A screen similar to the following will appear:
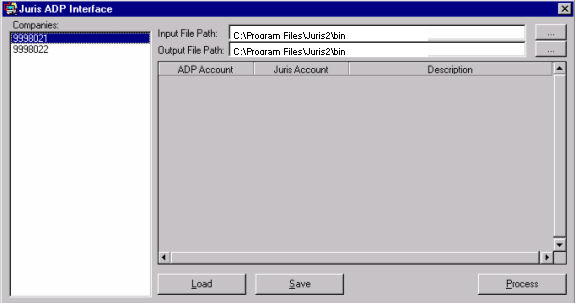
The white box to the left will list the companies that are set up. Select the company which will be used for setting the ADP payroll interface. In the Input File Path field, enter the path to the file received from ADP. ADP outputs a file with the extension “gli.” This is the file the Juris ADP Interface utility will convert for use in Juris. In the Output File Path field, enter the path to the file that holds the translated data to be used by Juris. Click the Load button.Note
If your GLI file does not load, then you will need to use Excel to create your Journal Import Batch. Click here for details.
-
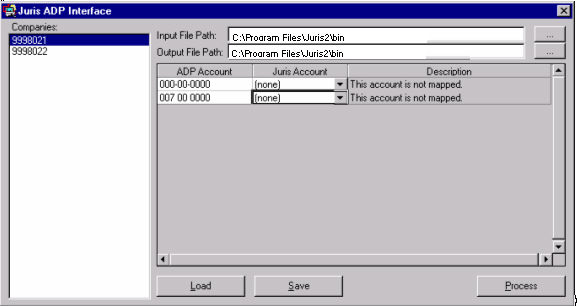
The accounts from the ADP file will be listed in the right hand column as shown below. All ADP accounts that have not yet been assigned a Juris account will have (none) displayed in the Juris Account column. Enter the Juris Account that corresponds to each ADP account.
-
After the accounts are selected, the Juris Account description will be displayed in the Description column as in the example below.
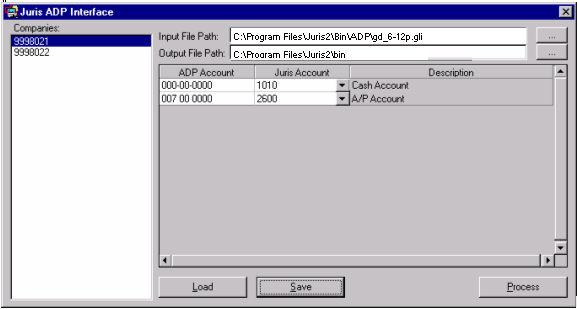
- After all accounts have been mapped, click the Save button. This will save each mapped account so that the next time the utility is used, it will not be necessary to map the accounts again. If necessary, the Juris Account can be changed and the ADP Account mapped to another account. Click the Process button to convert the ADP file into a file than can be imported into Juris.
Import Data into Juris
-
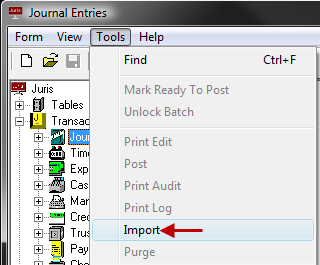
Open Juris > Transactions > Journal Entries.

-
On the Tools pull-down menu, select Import.
-
Locate the translated file and click OK.
The journal entries from the ADP payroll system are now in Juris ready to be edited, posted, etc.