Create, Edit or Delete a Holiday Schedule
Create a Holiday Schedule
-
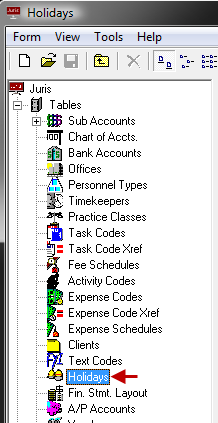
Select Tables > Holidays.
-
Open a new Holiday Schedule form by using any of the following options:
- Click the New icon on the toolbar.
- Select Form > New from the menu..
- Use the keystroke shortcut Ctrl + N.
A Holidays window opens.
-
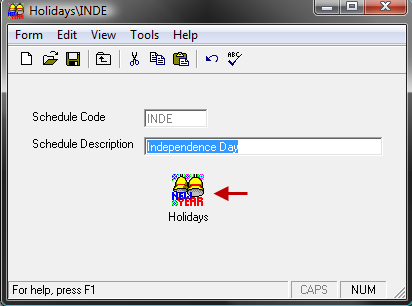
In the Schedule Code text box, type a 1-4 character code.
The code can be digits, alpha characters, or a combination of both.
- In the Schedule Description text box, type a 1 - 30 character description.
-
Spell check the form using any of the following options:
- Click the Spell Check icon on the toolbar.
- Select Form > Spelling from the menu.
- Use the keystroke shortcut F7.
-
Save the schedule using any of the following options:
- Click the Save icon on the toolbar.
- Select Form > Save from the menu.
- Use the keystroke shortcut Ctrl + S.
The 'Holiday' icon becomes enabled.
-
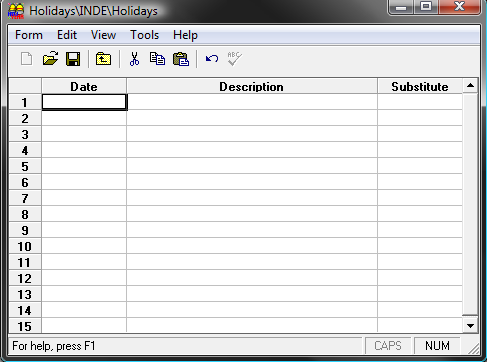
Click the Holidays icon to open the Holidays spreadsheet.
-
Enter a holiday into the schedule by typing in the date of the holiday, the description of the holiday and the substitute date of the holiday.
At this point, you need to do another spell check and save in order to ensure the Holiday is completely correct.
-
Spell check the form using any of the following options:
- Click the Spell Check icon on the toolbar.
- Select Form > Spelling from the menu.
- Use the keystroke shortcut F7.
-
Save the schedule using any of the following options:
- Click the Save icon on the toolbar.
- Select Form > Save from the menu.
- Use the keystroke shortcut Ctrl + S.
Edit a Holiday Schedule
- Select Tables > Holidays.
- Open the existing Holiday Schedule using any of the following methods:
- Double-click on the schedule to be edited.
- Use the arrow keys on the keyboard to move through the list and select the schedule to be edited, then press the Enter key.
-
Make any necessary modifications to the form, or to the holidays spreadsheet.
NOTE: The system does not allow the code to be changed.
-
Spell check the form using any of the following options:
- Click the Spell Check icon on the toolbar.
- Select Form > Spelling from the menu.
- Use the keystroke shortcut F7.
-
Save the schedule using any of the following options:
- Click the Save icon on the toolbar.
- Select Form > Save from the menu.
- Use the keystroke shortcut Ctrl + S.
Delete a Holiday Schedule
- Select Tables > Holidays.
-
Select an existing Holiday Schedule using any of the following methods:
- Double-click on the schedule to be deleted.
- Use the arrow keys on the keyboard to move through the list and highlight the schedule to be deleted.
-
Delete the selected Holiday Schedule by using any of the following options:
- Click the Delete icon on the toolbar.
- Select Form > Delete from the menu.
- Use the keystroke shortcut Alt + F, D.