Workstation Connectivity Settings
We recommend that you install all Windows updates including Microsoft Office, before continuing.
To setup workstation connectivity:
-
Press Windows logo key + R to open the Run window.
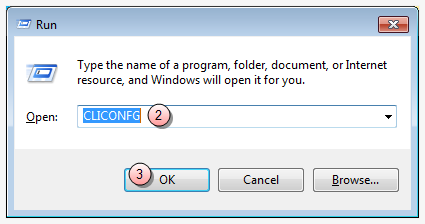
- In the Open box, type CLICONFG.
-
Click OK to open the SQL Server Client Network Utility window.
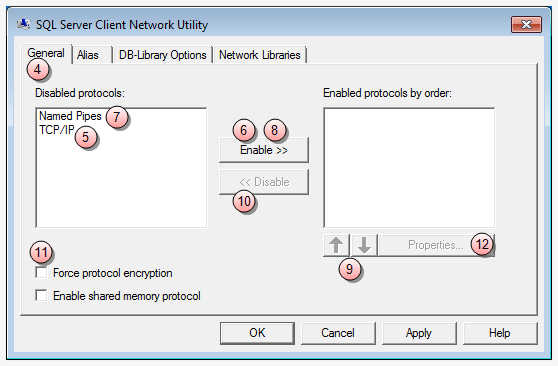
- Click the General tab.
- Select TCP/IP in the Disabled protocols list.
- Click the Enable >> button to add TCP/IP to the Enabled protocols by order list.
- Select Named Pipes in the Disabled protocols list.
- Click the Enable >> button to add Named Pipes to the Enabled protocols by order list.
-
Use the up/down arrow buttons at the bottom of the Enabled protocols by order list to ensure that TCP/IP appears above Named Pipes.
NOTE: If there are any other protocols listed in the Enabled protocols by order list, you need to remove them,
-
Move all other protocols from the Enabled protocols by order list to the Disabled protocols list.
 Move protocol steps
-
Click on the protocol in the Enabled protocols by order list to select it.
-
Click the << Disable button to move it to the Disabled protocols list.
-
Repeat these two steps for each protocol, until only the two you have added to the Enabled protocols by order list remain.
-
- Ensure that the Force protocol encryption and Enable shared memory protocol check boxes are NOT selected.
-
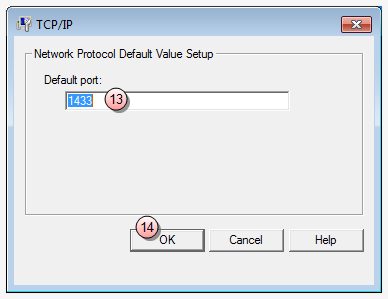
Click the Properties button to open the TCP/IP window.
-
In the Default port box, type the default port.
NOTE: The Default port number is the same number you get form the server through either the Server Network utility or the SQL Error log.
-
Click OK to save the setting and return to the General tab.

-
Click the Alias tab.
NOTE: If there are any alias configurations listed in the Server alias configurations list, they must be removed.
-
Remove all alias configurations from the Server alias configurations list.
Remove alias configuration steps
-
Click on the alias configuration to select it.
-
Click the Remove button to remove it.
-
Repeat these two steps on each alias configuration listed.
-
- Click OK to close the SQL Server Client Network Utility window.
Now you need to set the protocol for the Juris.ini file (protocol) and for the workstation (local protocol), using the Juris Diagnostics tool.
Set protocol and local protocol
- Click the Windows Start button.
-
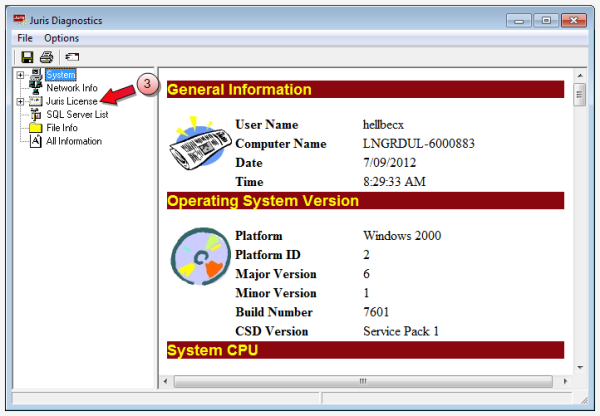
Select Programs or All Programs in Windows 7 > Juris Diagnostics to open the Juris Diagnostics window.
-
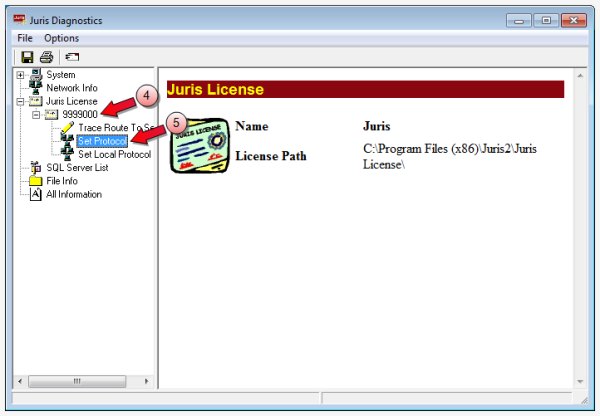
Double-click the Juris License to expand it.
-
Double-click the [four digit Client Code]000 to expand it.
-
Select Set Protocol to open the Set Network Protocol window that controls the setting for the Juris.ini file.

- Select CliConfg.
-
Click OK.
Your changes are saved and you are returned to the Juris Diagnostics window.
-
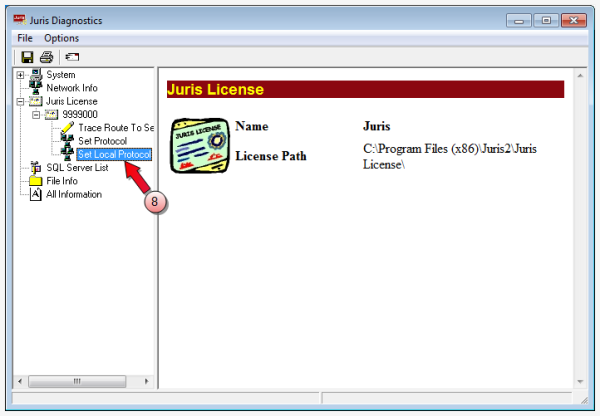
Click Set Local Protocol to open the Set Network Protocol window that controls the setting for the PC
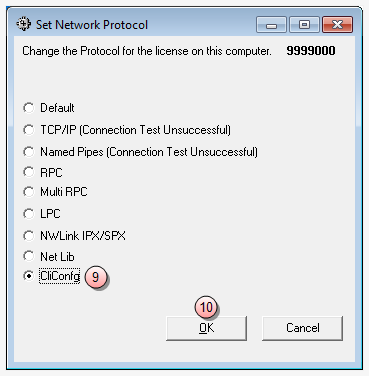
- Select CliConfg.
- Click OK.
- Click the window Close button to close the Juris Diagnostics window.
Related information
Installation and upgrade overview
Related tasks