Create a Consolidation
Consolidations may be established to bill multiple matters on the same invoice (Consolidated Billing). The Consolidation must be established first, then matters can be assigned to that consolidation. Each client may have one or more consolidations, but each matter may be assigned to only one consolidation.
Note
You must have entered a Billing Address for the Send copy to function to work.
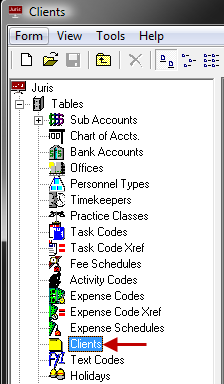
- Select Tables> Clients.
-
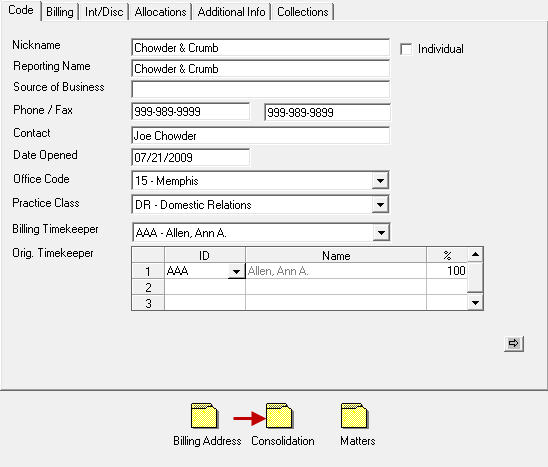
Double click the Consolidation icon.
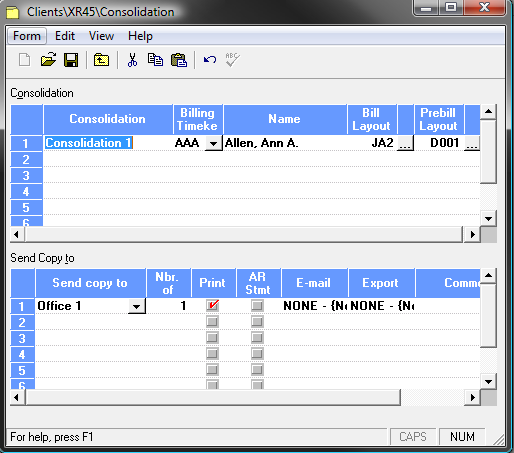
- In the Consolidation spreadsheet, enter a Name for the consolidation.
- Assign a Billing Timekeeper (the Billing Timekeeper for the Client will be supplied by default) and select the bill format to be used for Bills and Prebills.
- In the Send Copy To spreadsheet, select an address, and enter the number of Bill Copies to go to that address.
- Remove the checkmark beside the Print option if a printed copy is not needed.
- If the bill is to be e-mailed and/or exported, select the electronic format to be used by clicking the selection in the appropriate drop-down box.
- Enter a Bill Copy comment.
-
Repeat Step 3 for each address that will be used to send a bill copy for the consolidation.
Tip
If multiple consolidations are created for a Client, clicking on the consolidation in the Consolidation spreadsheet will show the corresponding addresses for that consolidation in the Send Copy To spreadsheet, and will allow changes to be made for address assignments as well as allowing additional addresses to be entered for that consolidation.
-
Save the Consolidation using any of the following options:
- Click the
 Save icon.
 - Select Form > Save from the toolbar.
- Use the keystroke shortcut Ctrl + S.
- Click the