Schedules
Schedules determine when notifications should appear regarding the recurring transactions assigned to the schedule. The determination of who should be notified is governed by the transaction Template.
-
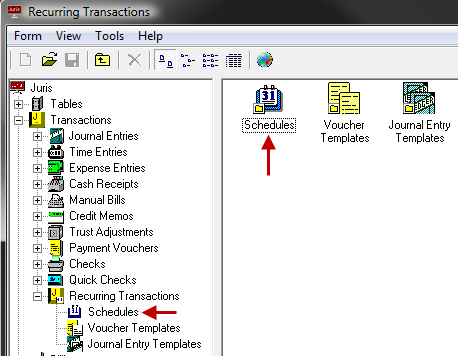
Select Transactions > Recurring Transactions > Schedules.
-
Open the Schedules form by using any of the following options:
- Click the New icon on the toolbar.
- Select Form > New from the menu.
- Use the keystroke shortcut Ctrl + N.
-
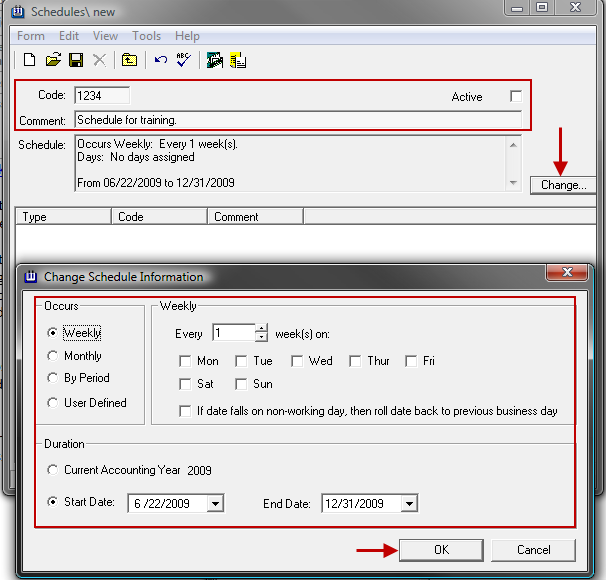
In the Code text box, type a 1-4 character code.
The code can be comprised on all digits, all alpha characters, or a combination of both.
- Enter a Comment.
-
Check the Active check box if the schedule is to be activated immediately.
Do not check the check box if the schedule is to remain dormant.
-
Click the Change button to open the Schedule information window, and see Schedules Advanced Topics for details.
- Select the options as appropriate for scheduling the entry.
- Click the OK button to save changes and close the form.
-
Once the templates have been added, Save the schedule using any of the following options:
- Click the Save icon on the toolbar.
- Select Form > Save from the menu.
-
Use the keystroke shortcut Ctrl + S.
-
Click Tools and select to Add Journal Entry Template or Add Voucher Template as appropriate.
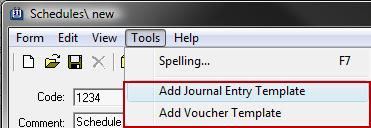
Note
Templates must be added to the schedule. If no templates are added, the schedule will not be saved.
Note
When you add a template to an existing schedule, the template is scheduled for past as well as future notification dates on the schedule. For past dates, the template needs to be canceled. To avoid this, create a new schedule for the template with dates going forward.