Create a Journal Entry Template
To create a Journal Entry Template:
-
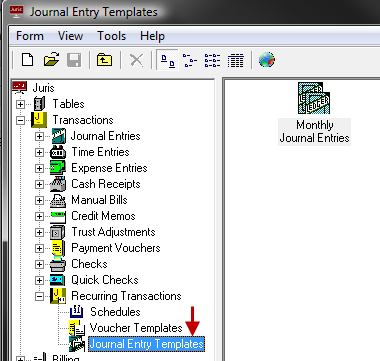
Select Transactions > Recurring Transactions > Journal Entry Templates.
-
Open a new template form by using any of the following options:
- Click the New icon on the toolbar.
- Select Form > New from the menu.
- Use the keystroke shortcut Ctrl + N.
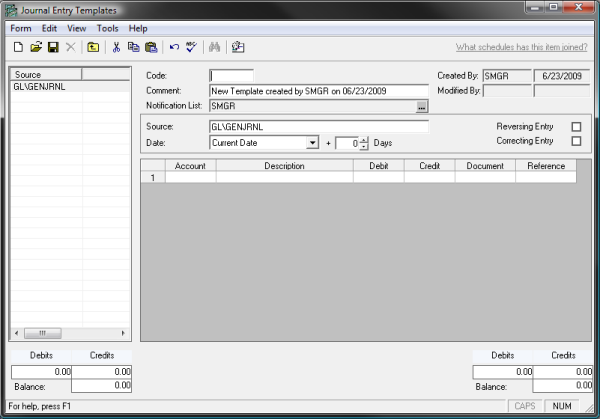
- Enter a 1-4 character alphanumeric code.
- Enter a comment.
-
Open the notification list in any of the following ways:
- By clicking the ellipse button.
- By clicking the notification list icon.
-
Users that have been added to the notification list will receive notifications when they log into Juris if a Scheduled item using that template is scheduled to occur that day. The user creating the template will be added to the notification list by default, but this can be changed by the user. The system requires that at least one user be added to the notification list.
The remainder of the form are the typical journal entry options, except that no fields are required in the template. However, required items that are left blank in the template must be supplied when the transaction occurs. See Journal Entries for details on journal options.
Note
When selecting dates, choices are 'Use Scheduled Date' or 'Use Current Date.' When 'Use Current Date' is selected, the system will use the system date on the machine the day the transaction was performed. When 'Use Scheduled Date' is selected, the system will use the date based on the schedule that the transaction has been assigned.
These choices will affect recurring transactions that have been deferred, or that were not performed on their scheduled day. For example, an event is scheduled to occur on the 19th of the month every month. However, this month no users logged into the system on the 19th to be reminded to perform the transaction, or those who were reminded decided to defer the transaction. Then on the 20th, a user logs in, is reminded of the transaction, and decides to perform the transaction that day. If the template is set to 'Use Current Date', the system will date the transaction on the 20th, which is the current system date of the user. If the template is set to 'Use Scheduled Date' is selected, the system will date the transaction for the 19th, which is the date on the schedule.
There is also an optional option of offset days. If offset days are used, the date used by the transaction would be the date as determined above plus or minus the number of offset days as defined by the schedule.
-
Save the template using any of the following options:
- Click the Save icon on the toolbar.
- Select Form > Save from the menu.
- Use the keystroke shortcut Ctrl + S.
If a schedule already exists that the template should be assigned to, then add this template to that schedule by clicking on "What schedules has this item joined?" Otherwise, a schedule may be created and this template added. See schedules for details.
Note
When you add a template to an existing schedule, the template is scheduled for past as well as future notification dates on the schedule. For past dates, the template needs to be canceled. To avoid this, create a new schedule for the template with dates going forward.