Creating a New SQL Server Backup Device
When creating a backup using SQL Server Management Studio, you can choose different devices on which to store the backup. Devices allow you to predefine the backup location and file name, instead of doing so when actually creating the backup. In short, they simplify the overall backup process. However, before you can choose a device during the database backup process, you need to create the device, as described below.
- Verify that you are logged into the computer that is running SQL Server, and that you are the administrator or a user with administrative privileges.
- Open SQL Server Management Studio using one of the following methods, based on your operating system:
- Windows Server 2008: Click Start, click All Programs, click Microsoft SQL Server, and click SQL Server Management Studio.
- Windows 8 / Server 2012: Search for SQL Server, and click SQL Server Management Studio in the search results.
-
On the Connect to Server dialog box, specify your credentials and click Connect.
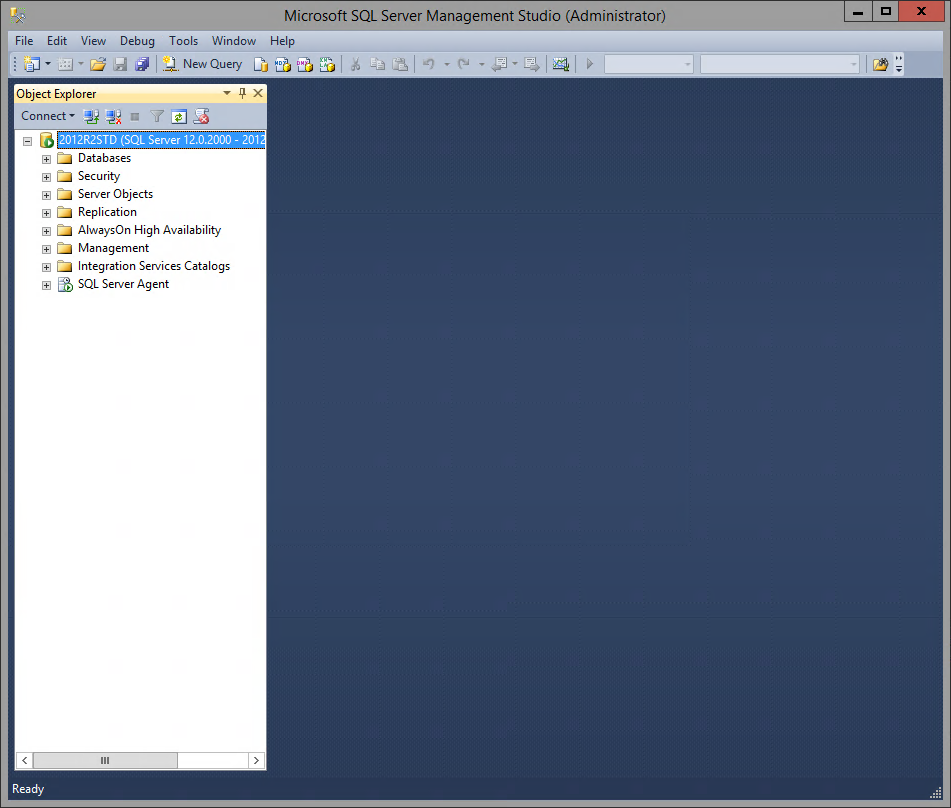
The Microsoft SQL Server Management Studio dialog box appears.
-
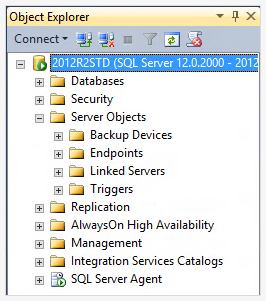
On the left side of the dialog box, click the + icon adjacent to the Server Object node.
Several additional options appear.
-
Right-click the Backup Devices node, and click New Backup Device from the menu that appears.
The Backup Device dialog box appears.

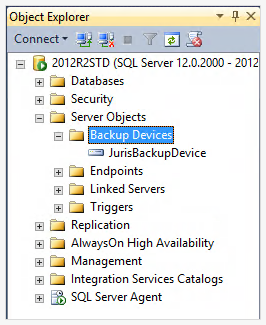
- In the Device name text box, enter a descriptive name for the new backup device (for example: JurisBackupDevice). This name will appear on the SQL Server Management Studio dialog box.
-
In the Destination area, specify the location for the backup device, if desired.
Note
If you simply want to accept the default file destination and file name (which is the same as the device name specified above), proceed directly to step 8 below.
- Click the … button adjacent to the File text box.
- Navigate to folder where the backup device's file will be stored, and click the folder to select it.
- In the File name text box, specify a name for the actual backup file created when this device is used.
- Click OK.
You are returned to the Backup Device dialog box, and the new file information appears in the File text box.
-
The device is created. It now appears in the Backup Device node.
When making a backup, you can now select the newly created device to easily specify your backup's location and file name. For more information on exactly where the device is selected during the backup process, see one of the following topics: