Create electronic bills
In order to use JurisBX to create electronic bills, you must have first Selected, Edited and Printed your bills in Juris. When the status of the bill is “Ready to Post” in Juris, then that bill will be available in JurisBX. You may check the status of your bills in Juris under Billing > Edit Prebills.
-
Click on JurisBX.exe to open the utility.
The login and password for each user in JurisBX are the same as they are for Juris.
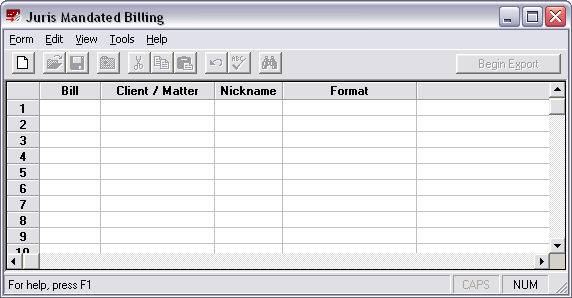
Once logged in the screen below appears.
-
Click NEW to open the "Bills to Export" screen. If you know the bill number(s) of the bill(s) to export, you may enter them directly into the spreadsheet. Otherwise click the lookup button
 to open the Bill Finder, which
may be used to search for posted bills.
to open the Bill Finder, which
may be used to search for posted bills. 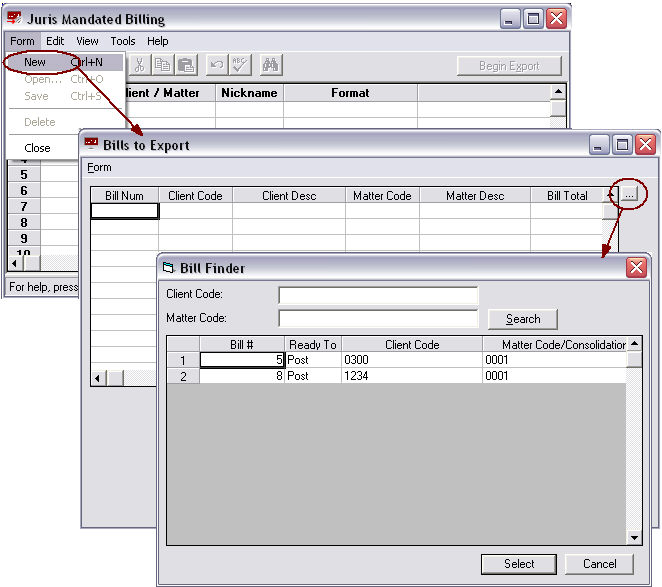
-
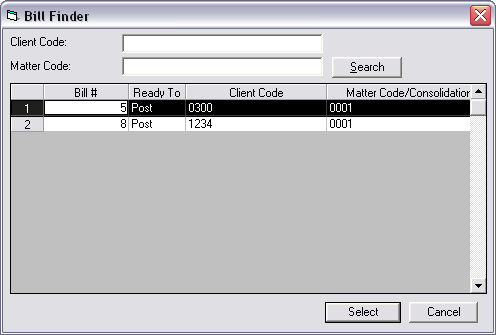
To select an item when the finder is used, the row must be highlighted as shown below by clicking on the row number of the bill you wish to export, which will highlight the row as shown. Then click 'Select' to add that item to the 'Bills to Export' screen.
-
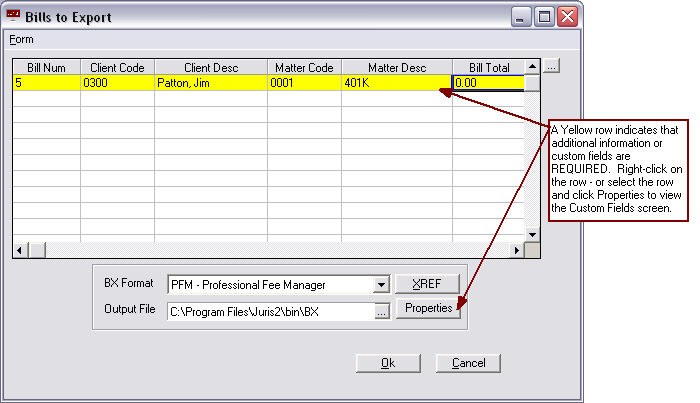
The 'Bills to Export' screen also requires that a BX format and an Output File are selected. All BX formats that have been imported into BX will be available in the drop down list. The Output File path will be the location on the local machine or network drive where you would like the exported bills to be placed. The file will be automatically named by BX using the bill number (for example, the file below is named 5.txt) but the filename may be changed by the user.
Once a bill has been selected, it will turn yellow if additional information is required.
-
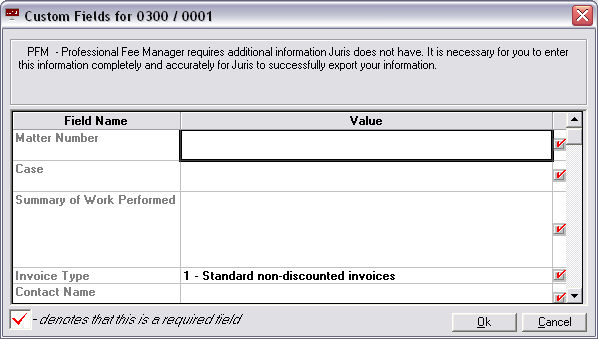
Follow the instructions shown below to add additional information or custom fields.
The custom fields screen lists all of the additional items that are required. A red checkmark to the right of the row indicates that item is REQUIRED. Items without a checkmark are optional.
Once all required custom field information has been supplied, that bill will no longer be shown in yellow in the Bills to Export screen. This information will be stored to a matter note card in Juris so that subsequent bills exported for this matter will not ask for this information, it will be pulled from the note card automatically. Please keep in mind that if only optional custom fields exist for the format, the row will not turn yellow.
-
It is recommended that when using a new format, click the Properties button to make sure no optional fields are available that you may wish to utilize before attempting to export the bill.
Cross-reference information may still be required to complete the export file.
-
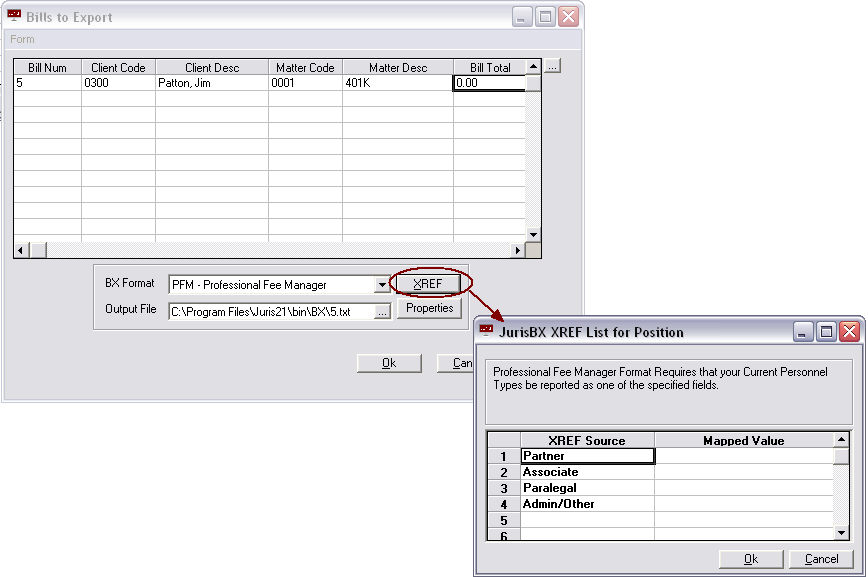
Click on the XREF button to see if cross reference information is needed. NOTE: This does not refer to Expense Code or Task Code Cross-References. When a Task or Expense Cross reference is used in Juris, a special cross-reference version of the BX export file must be used. Click here for more details.
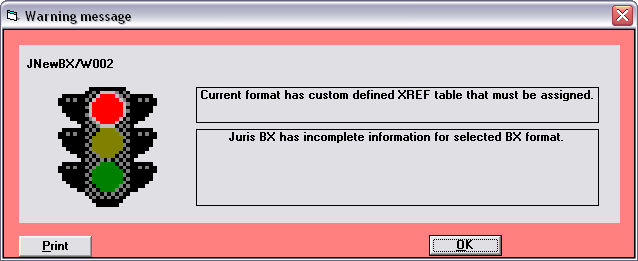
Don't worry, if you forget to click on the XREF button and cross-reference information is required, a message like the one shown below will appear.
-
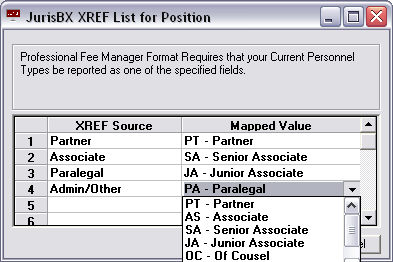
Clicking OK will open the XREF form automatically. Click the drop-down boxes to map your database values to the values required by the mandated format.
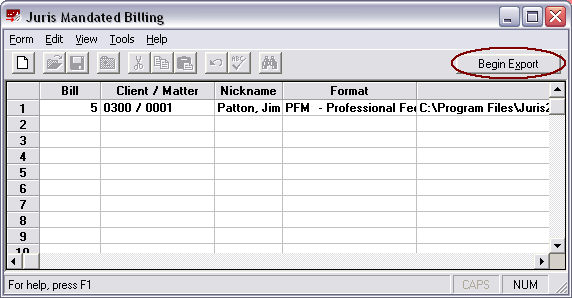
The system will then place that bill in the Juris Mandated Billing screen, indicating that it is ready to export.
-
Repeat the process above until all mandated bills are selected, then click 'Begin Export' to create the electronic invoice. The invoice will be placed in the location as determined by the user (the path used in the 'Output File'.)
Note
Regarding the output path. Multiple bills may be exported to the same and output file. Simply copy the Output File path (including filename) and paste the same path into each bill that you would like to have exported to the same file. When multiple bills are exported to the same file, each bill will be appended to the end of the file.